
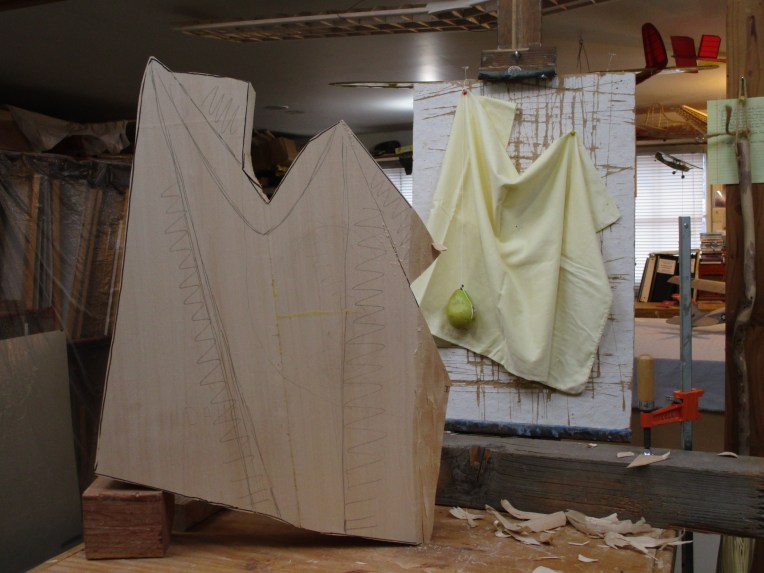
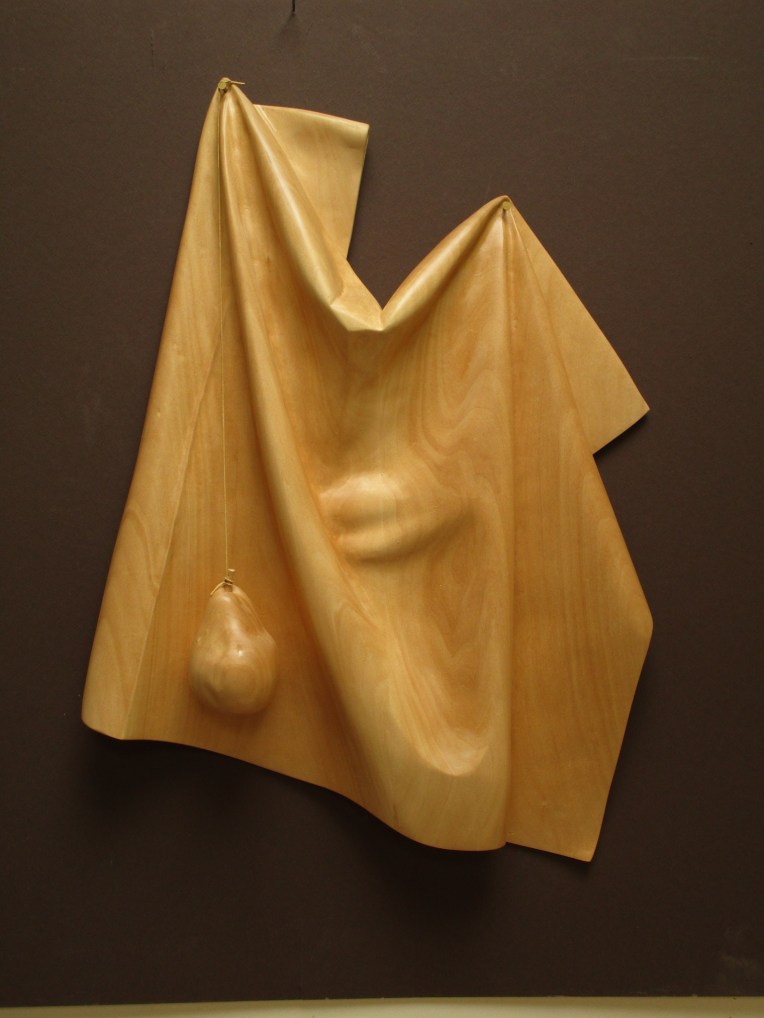
As you can see from my website, I really enjoy wood sculpture. The challenge of making hard wood look like soft cloth and intricate forms from nature continues to interest me. In this series, I will show how a wall sculpture (or relief) is created. My “model” is shown below–a pillowcase tacked to a soft board, with a pear hanging from a string.

I glued two basswood planks together to form a block about 27″ x 18″ x 3″ thick. After drawing the outline of the drapery on the wood, I cut out the shape on a bandsaw. The model can be seen behind.
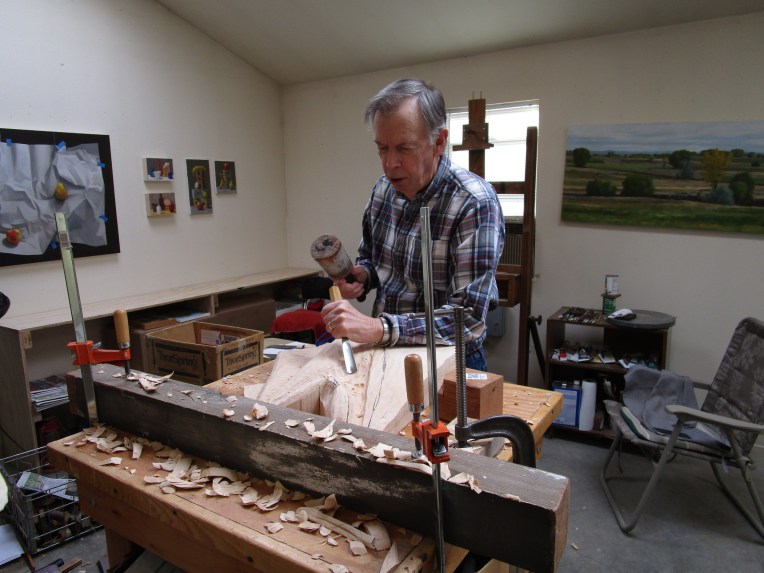
I’ve started removing some of the wood with a gouge and wooden mallet, seen on the table.
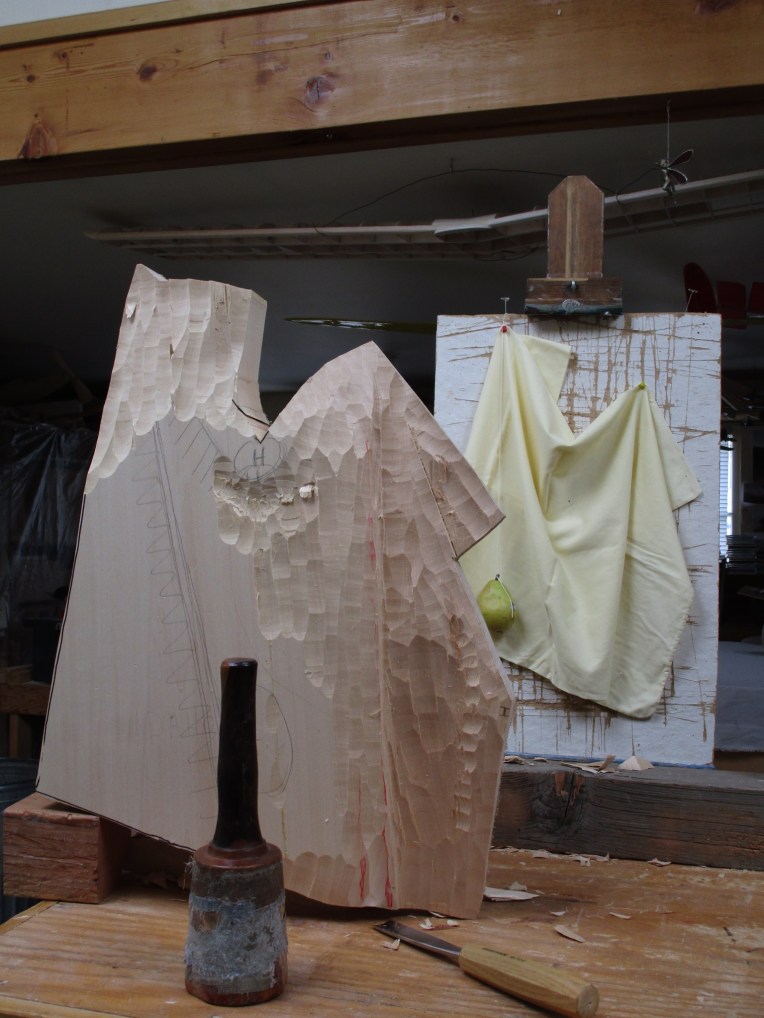
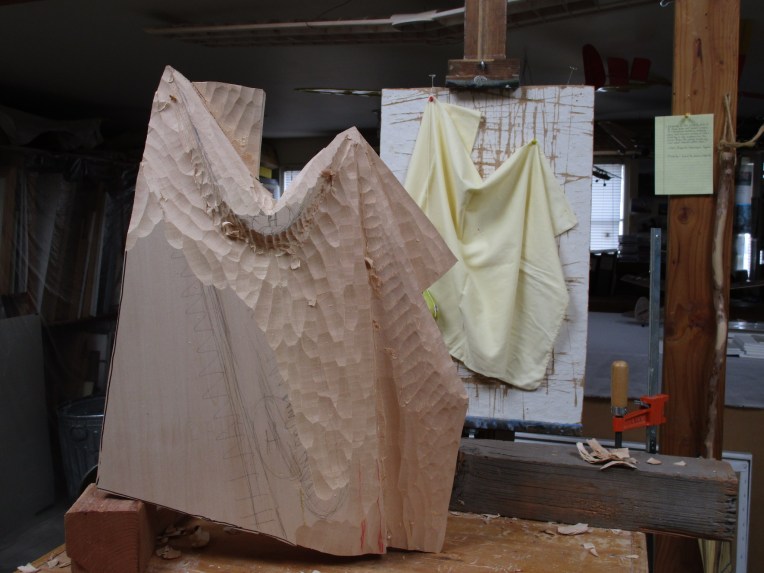 I’m not in a hurry when working on a wood piece, as I enjoy the process. At the same time, I try to do things as efficiently as possible, which usually means using the biggest gouges that I can.
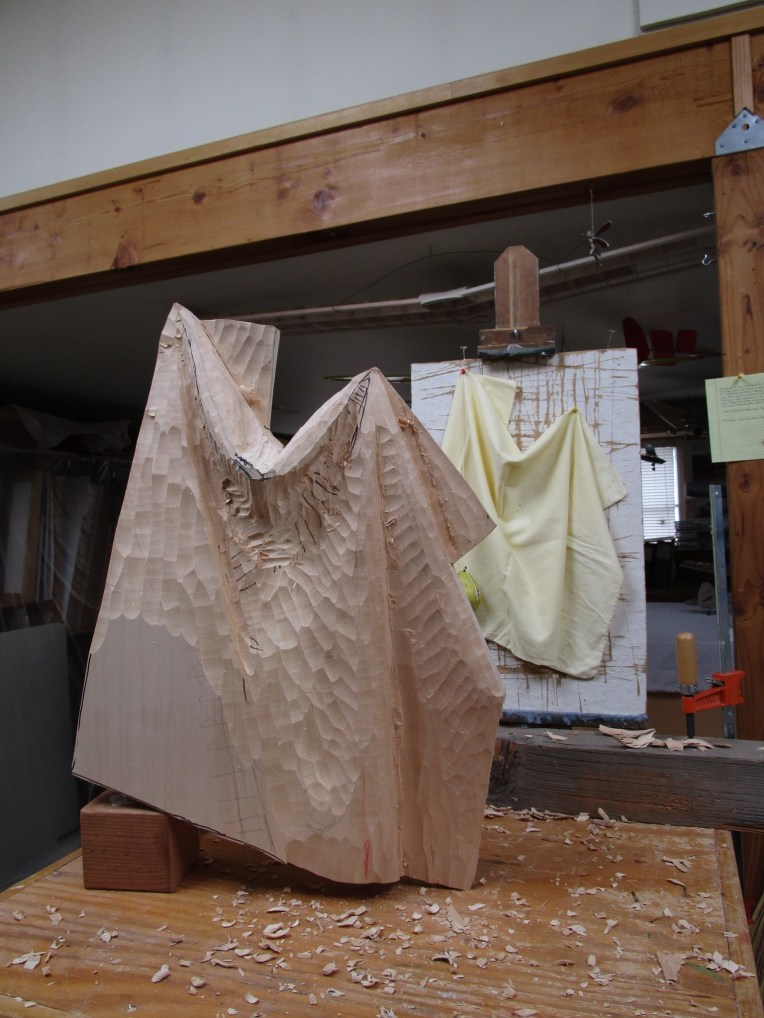
At work on the piece. The large board with the clamps on it keeps the sculpture from sliding around. I also use sandbags from time to time.
A table with an assortment of wood carving tools, rasps, etc.

The largest areas have been roughed out.


Undercuts help create the three-dimensional form of the drapery.

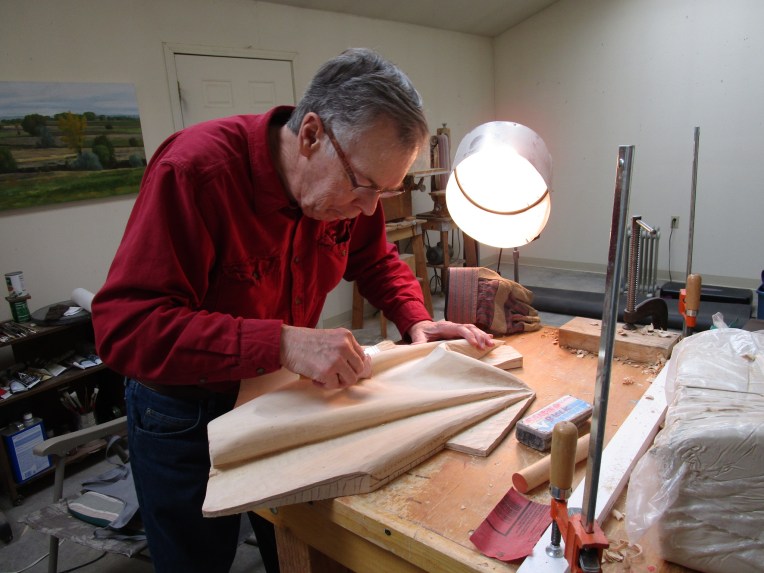
Rough sanding with 100 grit sandpaper helps to refine the surfaces. I use wood dowels of various diameters, and a soft blackboard eraser, to support the sandpaper.
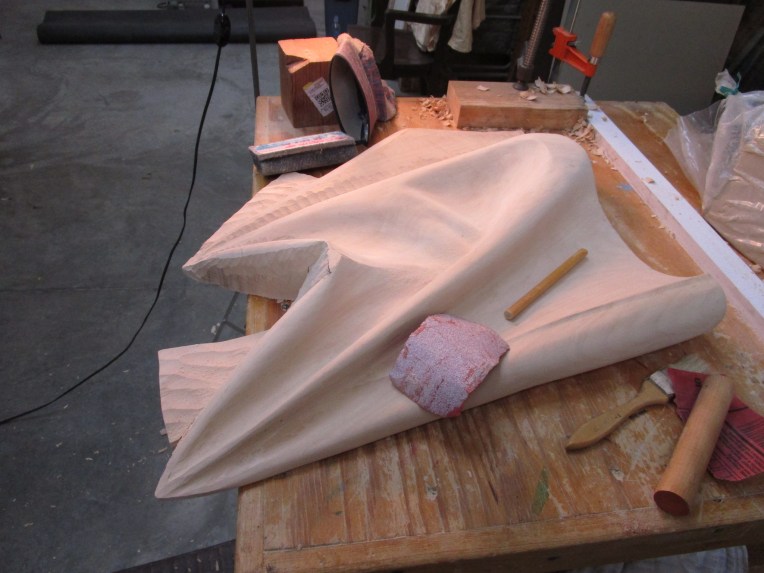
Holes are drilled in the bottom to help create the undercuts there.


Small tools called “palm gouges” are used in detailed areas.
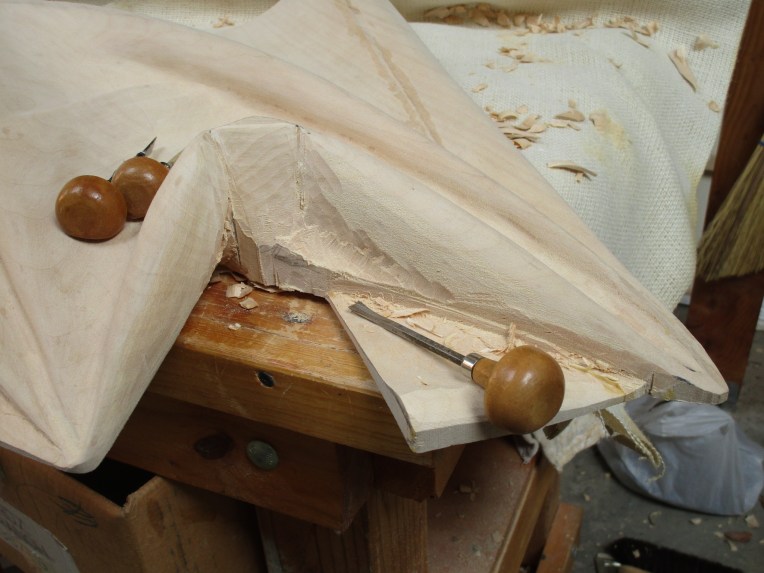
Ready for finish sanding. I use 100, 150, and 220 grit to create a very smooth surface.

After the first coat of clear lacquer, more sanding is needed on some areas.
 .
.
The finished piece. The wood color and grain add their own beauty to the sculpture. The most frequent question I’m asked is, “How long did it take you to make it?” There are really two answers to that question. The short answer is about 100 hours; the second answer is that it has taken a lifetime of experience to develop my skills as an artist.


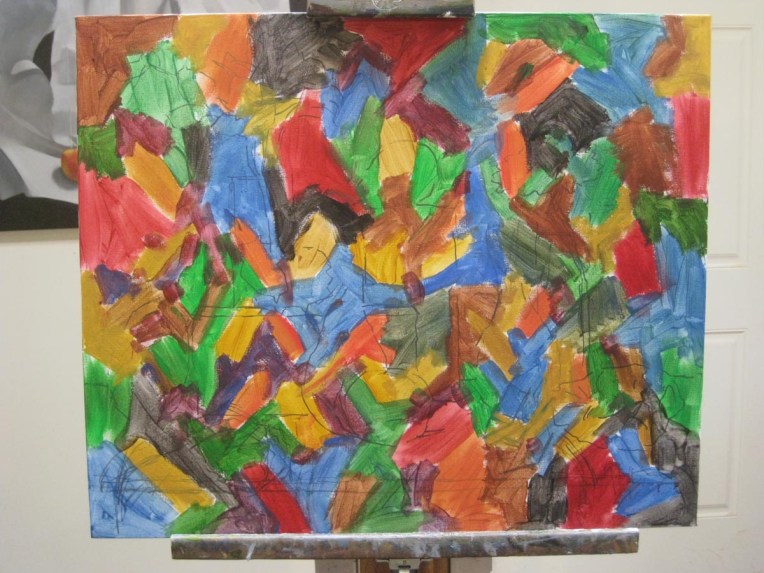
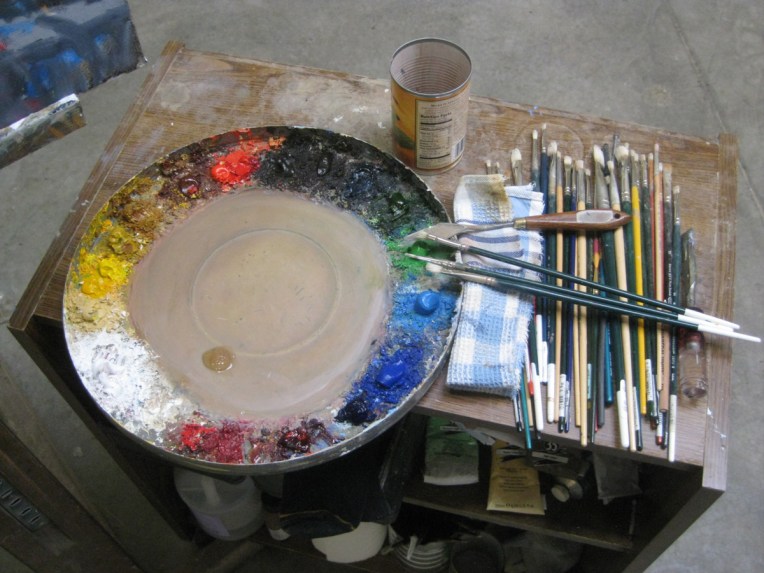 I often begin my paintings with a random colored acrylic underpainting, as seen below. Small bits and pieces of these colors often show in the finished painting, and help create a more lively surface. In a small way, it’s a process of creating “order out of chaos”. If you look closely, you can see some of the outlines of the objects. This is definitely not an approach for a beginner, as you have to be willing to accept a confusing surface and be able to live with it for a while.
 Some of the dark background gray has been applied.
 A few objects are starting to emerge.
 My brushwork is very loose and deliberately blurry at this point.
 A little further along.
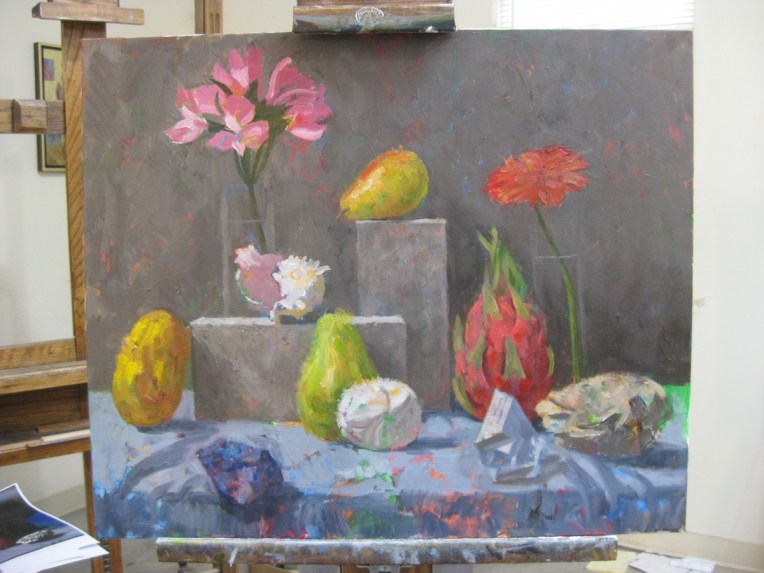 I’ve added more blue to liven up the background. Most of that will go away later.
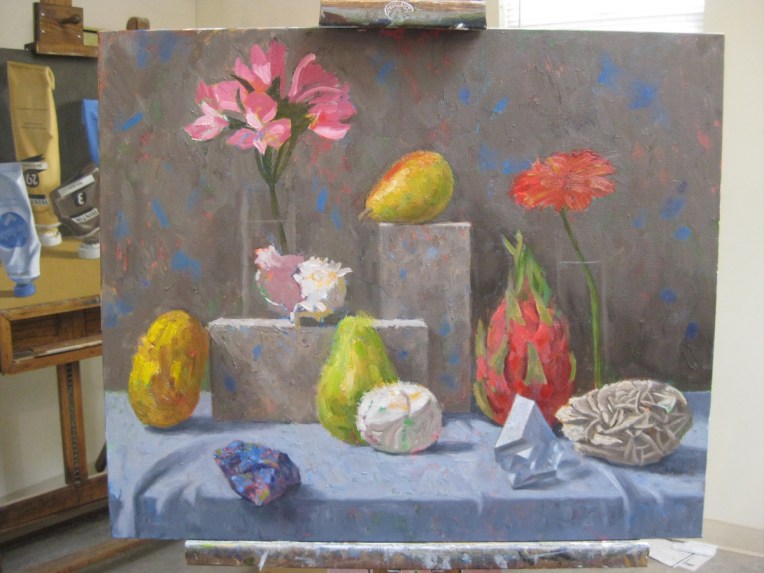 More refinement seen in some forms.
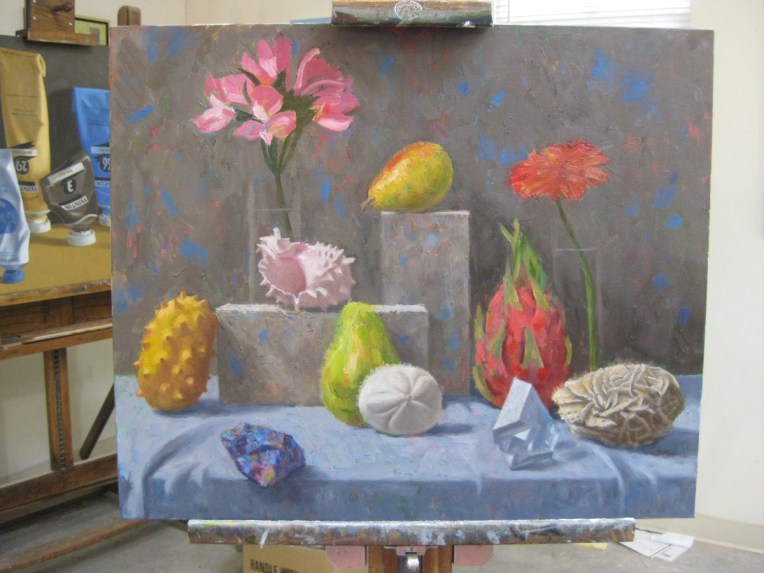 The object in the lower right is desert rose gypsum, an interesting mineral. But I felt that it attracted too much attention, so I replaced it with a large geode which seems to fit the composition better. Revisions like this often happen, even later on in a painting. It’s sometimes hard to paint out something you worked several hours on already, but that’s what needs to happen sometimes to create a better painting. A butterfly and hummingbird make their appearance. I spent a lot of time on the internet finding just the right kinds of creatures. The objects have been clarified and details added.
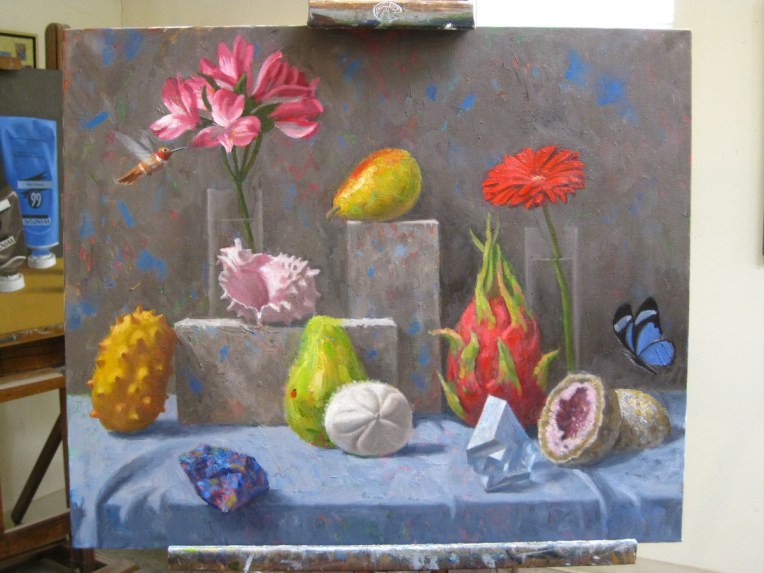 The finished painting, “Symbols of Creation”, oil on canvas, 20 x 24.
 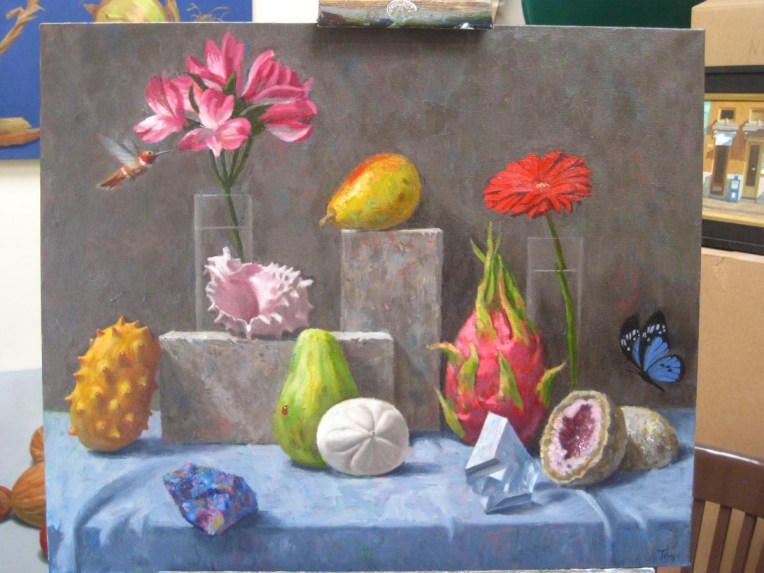 In case you may be interested, the 14 objects in the painting are: alstromeria, gerber daisy, horned melon (kiwano), golden papaya, dragon fruit (pitaya), bartlett pear, quartz crystal, amethyst geode, peacock copper, seashell, sand dollar, rufous hummingbird, butterfly, and last but not least, a ladybug.
